Friday, 27 November 2015

Planning: Storyboard & Animatic

Now that myself and Ryan have thought of the idea for our music video we began to put together the storyboard animatic. Firstly, we needed to do the story board part which is easy as we need to put our thoughts onto paper in drawings. We got several paper cards and drew on them with the shots we wanted for our music video. We then made a timeline in which we placed the panels along to clearly show in which order we want the shots.

Making the animatic requires good artistic skills to clearly represent what we want the shots to look like, however the drawings were not very good but they still got the idea across to the viewer. Whilst editing the animatic I needed to make sure that if the were cuts to the beat at points in the song then I had put them in. Throughout the production of my animatic I put in a lot of cuts to the beat.


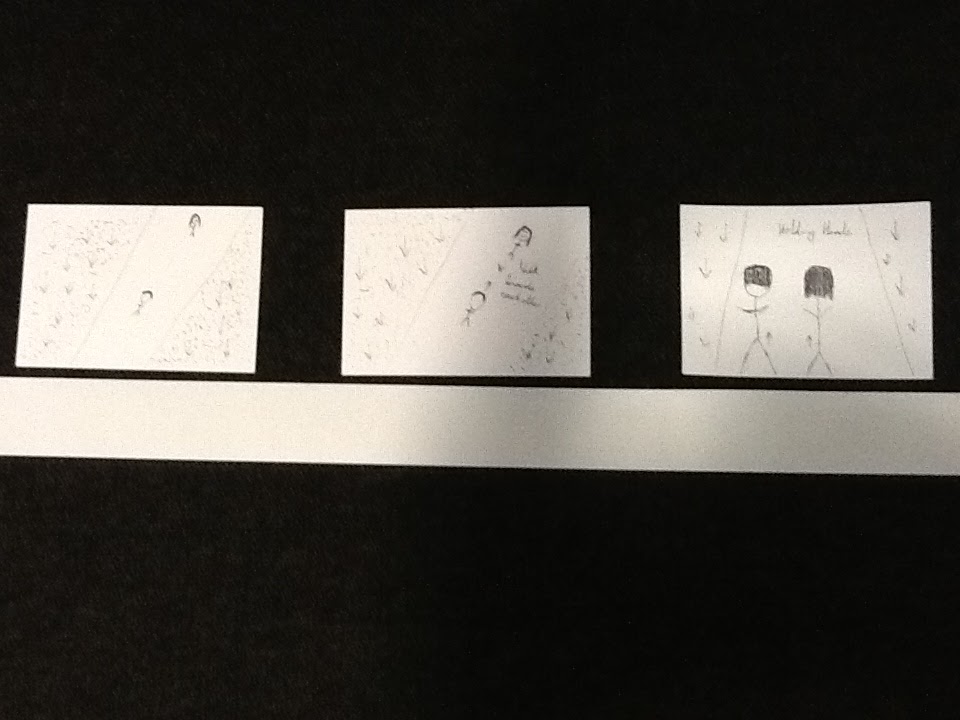
Here are all of the panels that were used for the animatic. We used some of the panels several times to give a feeling of memories etc. These are not in the order used in the animatic.


Here is the timeline with the panels placed across it, this is our first thoughts and therefore the finished animatic will have developed and changed to make it better, changes that we needed to make were found in the editing process.


Here is the completed animatic of the song 'Summer'.

The process of completing the animatic instead of just taking some photos of a storyboard was extremely important because it helps us to visualise what the music video is going to look like and now we just need to replace the drawings with actual shots. Making this animatic also gave me the chance to practice with Premiere Pro beforehand. Practicing cutting to the beat and other effects for this animatic is very helpful as these effects will be used for the final product.

Now the animatic is completed I will move onto the other parts of pre-production. I will now do my location planning and casting etc. for my final product.

Friday, 20 November 2015

Research and Planning: Self Assessment

Research into existing music videos

I believe that my work for this particular section is in the low basic high minimal. This is because i don't have a second existing music video yet and this is what is needed to be done to get a higher grade for this section. The detail in the one existing music video, i believe is good as i have explained everything that is needed to be explained and it makes it easier for the reader to choose the costume if they were to re-create the video.

Research into a potential target audience

I believe that the work for this particular section would be good because i have managed to create a person who would be the perfect target audience for the artist that i have chose. There are a few things that can be added to the post to make it look better like  picture for example of what the person would look like.

Work on Storyboarding

From what is actually on my blog at this exact point i am unable to give myself a mark as there is no evidence on my blog. The work is ready to be put onto the blog but isn't up yet.

Time Management

The time management on my blog started off well but as i have went through less and less is getting posted to my blog every week. One reason for this is that we stopped the coursework in class to be able to look at the exam. My time management at this time is poor as my posts are too spread out.

Use of digital technology or ICT

There is a good use of ICT throughout my blog as there are different means of looking at my work and it isn't just text. There is an emaze there as well so you are able to look through that as well which is good use of digital technology but more could be added.

Communication Skills

The communication skills throughout my blog are good as it is easy to read and there are no grammatical errors that i can find on my blog.

Level of Care taken in the Presentation of Work

The level of care that has been taken on all my work is good and it is all well explained on what was needed to have been done on each task. The level of care on my work is high on most of my work as i ty to make my work as detailed as possible.


Research: Green Screen and Lip Sync Practice

In this task we were asked to edit some footage and create a short video where you are able to see the lip syncing on the video as well as how to remove the green screen. In the pictures below you are able to see what i had to do at different stages and throughout the process.

After i got the video and the actual song that i want to edit into the timeline then i added the eight-point garbage matte which allows me to remove some of the green screen before actually removing the green on the actual video.


With the garbage matte you are then able to move the green into where you want. You have to be careful that you are not putting into the body of the person you are trying to get the green screen off of.


Then you need to put a ultra key on there as well. This has to go on the video you want to remove.